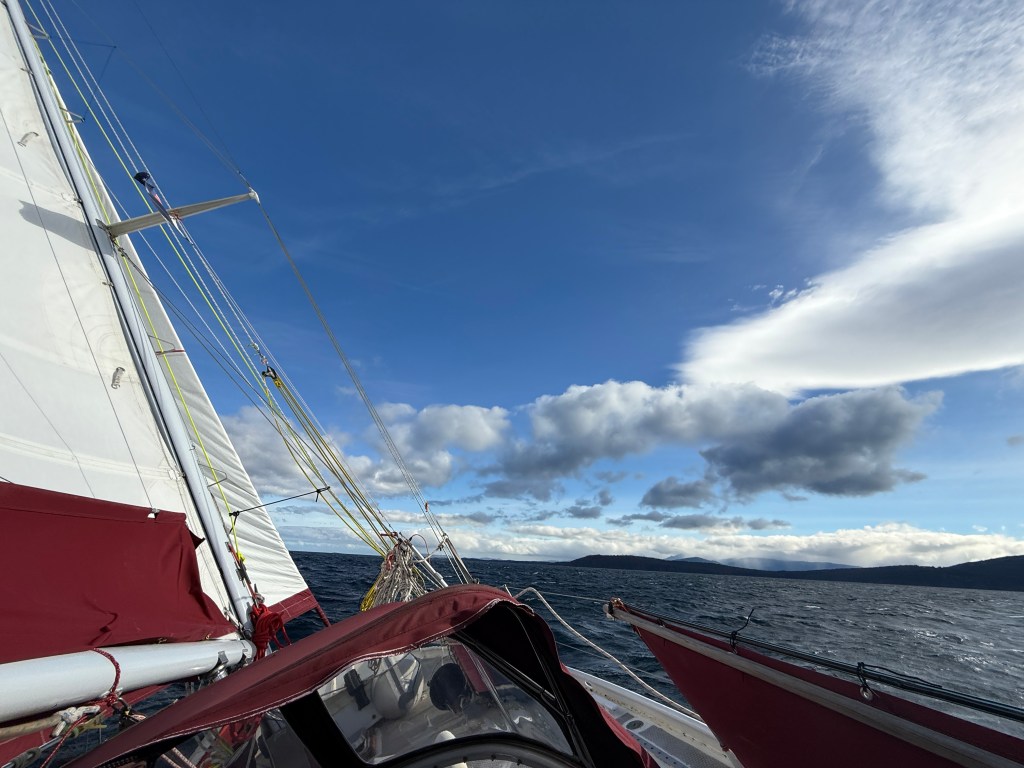
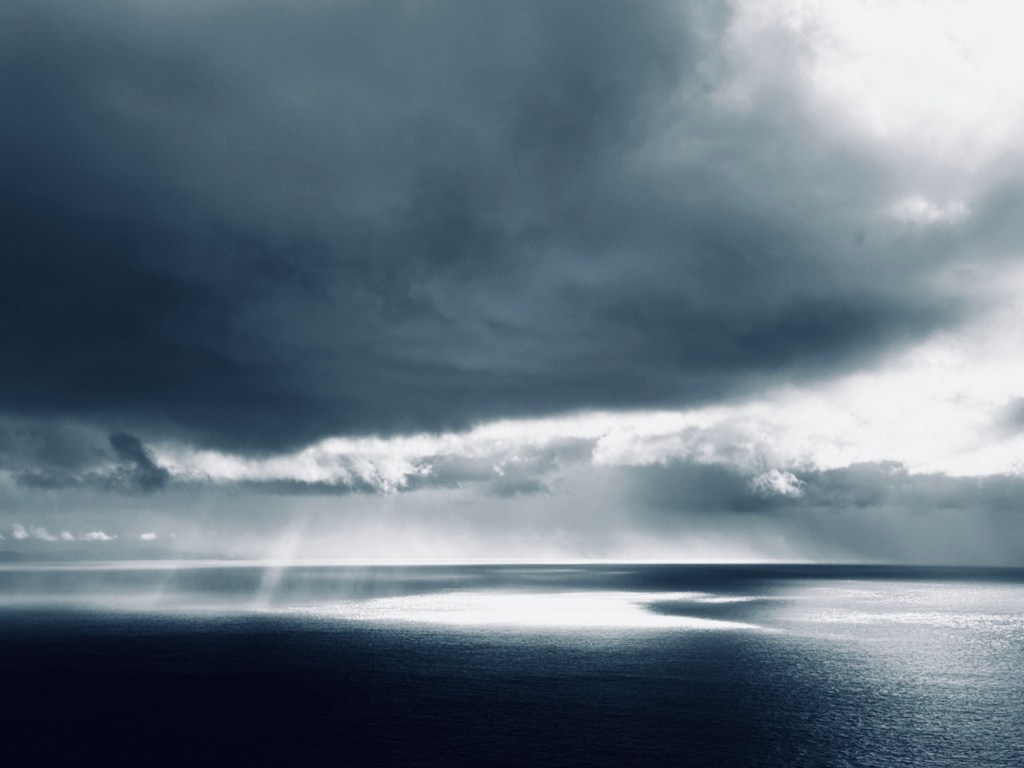
After a couple of days hanging out in Jetty Bay it was time to move on. We left Bruny Island, again, and sailed across the D’Entrecasteaux Channel in freshening conditions that peaked slightly north of thirty knots. The challenging sail was yet another reminder that you can never take conditions for granted in these waters.
We anchored in the southern part of Southport, in a place called Deephole Bay. We chose that particular spot for shelter and access to a popular walk from the beach to a nearby lagoon.
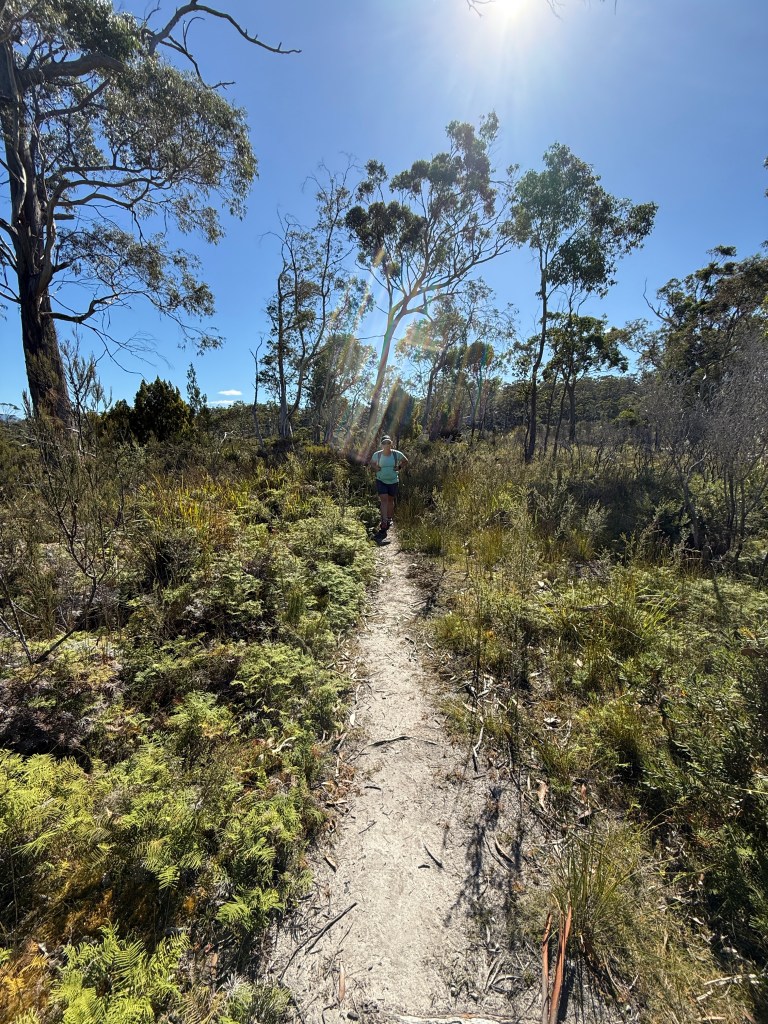
The walk was pretty hot, so we were keen to go for a dip on arrival at the lagoon. Alas, it turned out to be more of a shallow paddle.

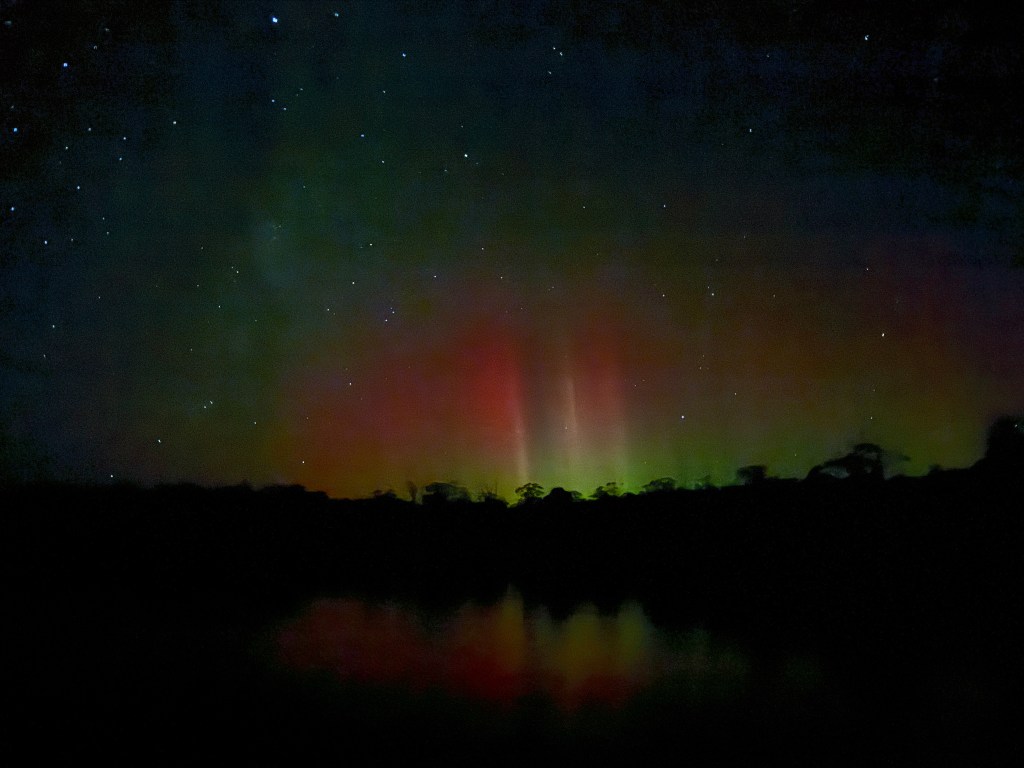
That night we were treated to our first Aurora Australis light show. The southern lights can be spectacular this far south, but they had alluded us so far, probably because we close the boat up at night to keep the heat in.
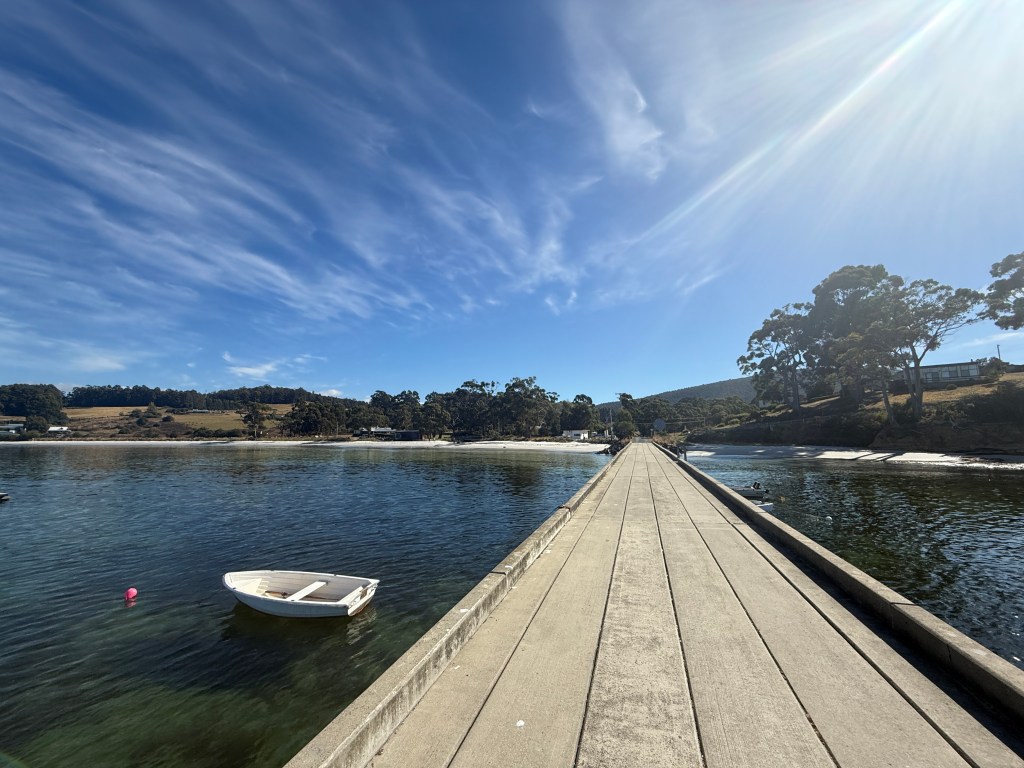
The following day we upped anchor and headed to the township of Southport. We had heard that Southport was pretty small, but the reality was exceedingly tiny indeed. The only ‘shop’ was a coffee vendor in a caravan. Nor did the amenities stretch to rubbish bins, so the trash we had taken to shore to dispose of ended up being carried back to the boat.
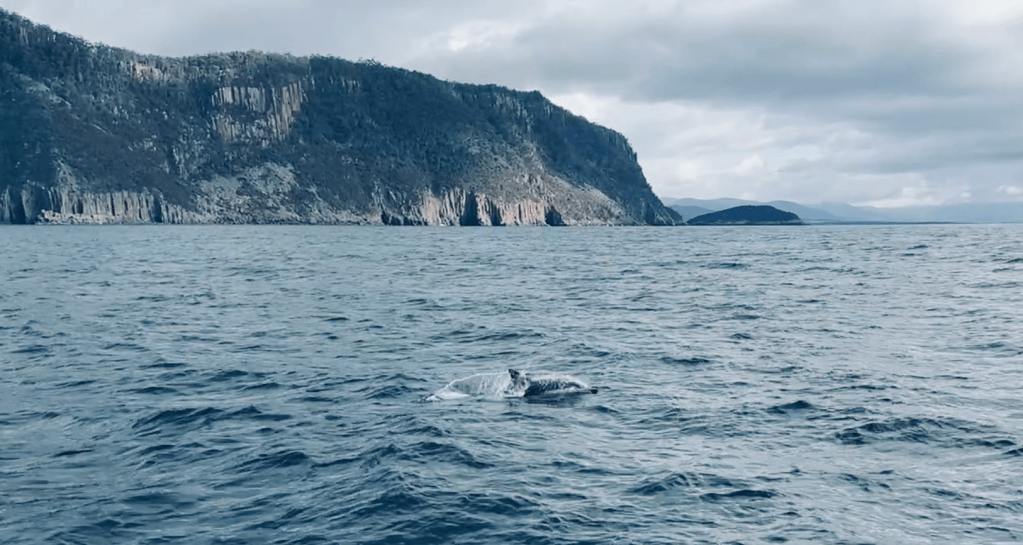
With so many places to visit we couldn’t hang around. The sail back to Bruny Island was one of those fantastic experiences that combine perfect sailing conditions with natural wonders. We witnessed some kind of seal feeding frenzy, frolicking dolphins, and even distant whale spumes.

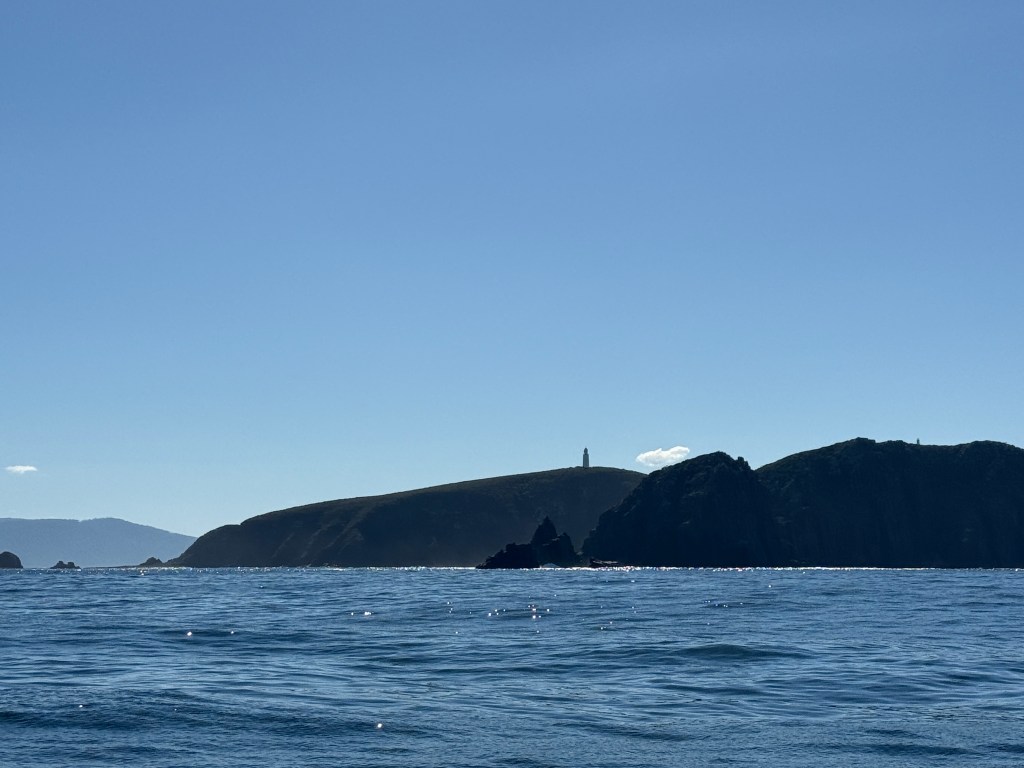
As we sailed around the southern end of Bruny we were treated to the sight of the Cape Bruny Lighthouse from seawards.
Our destination for the day was Cloudy Bay, an anchorage that proved to be fairly rolly — which shouldn’t have come as a surprise as the bay is largely open to the south. On arrival I had to go for a swim to clear some kelp from the propellor, and whilst diving realised that the screws holding our propellor anode were coming adrift. I had to dive down several times to tighten the machine screws, and then dropped the Allen key multitool, which required more time in the cold water to recover. Even with an 8mm wet suit it took a long time to warm up again.
A southern front was due early in the morning, so we needed to leave early to ensure that we didn’t end up stuck in the bay. Thus, we were up at 5:00 am and heading south.

Once past the headland we turned east and enjoyed a decent broad reach. The waves rebounding from the cliffs made for a bit of a sloppy sea, but soon enough we rounded Tasman Head and could turn northwards for following wind and seas.

We were heading for Adventure Bay, a place I had been looking forward to visiting since I learnt something of its history. Adventure Bay has been graced by the presence of some of history’s greatest sailors, navigators, and explorers.
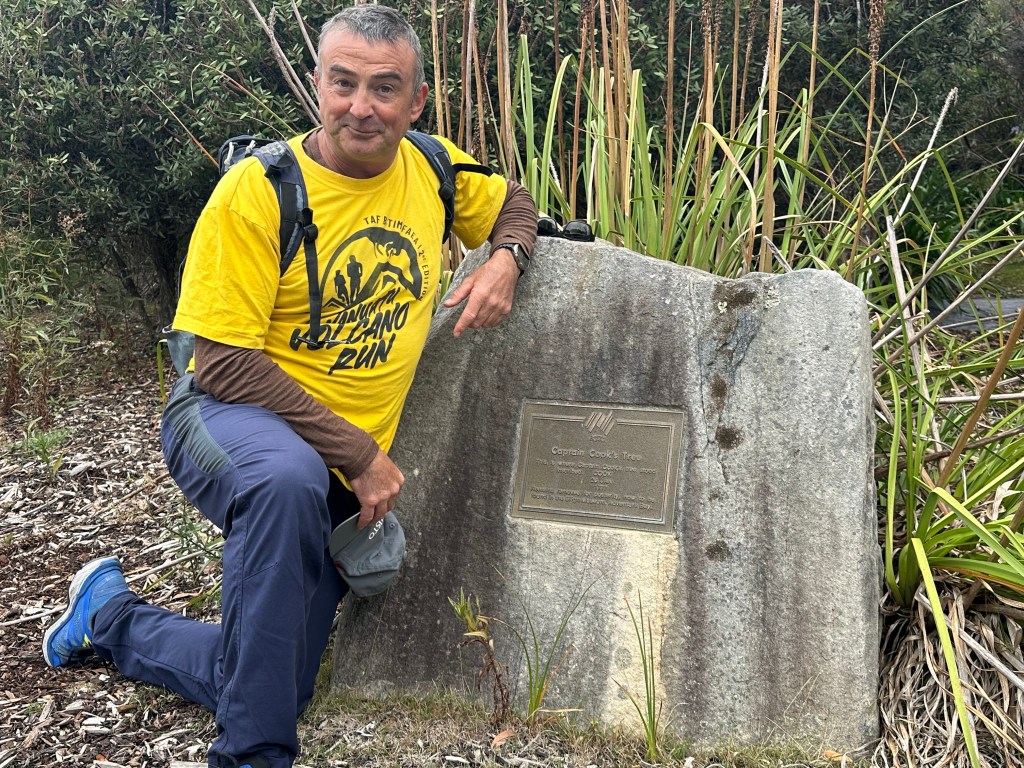
Abel Tasman was the first to visit in 1642, but was unable to anchor due to severe weather. In consequence, he called the large outer bay ‘Storm Bay,’ a title it still bears today. Tobias Furneaux, Cook’s second in command, visited later in 1773. His ship, The Adventure, provided the name for the bay. Cook had carried on to New Zealand after becoming separated from Furneaux, but he stopped here on his third and final voyage in 1777 — before he left for the Pacific and his date with destiny. William Bligh visited Adventure Bay no less than four times. First with Cook in Resolution, and later as Captain of the infamous Bounty. On his third visit, on the Providence, during his second bread fruit voyage, he was accompanied by a young midshipman by the name of Matthew Flinders. So, for a self-professed sailing and history geek, Adventure Bay was a bit of a ‘must see,’ and Cara patiently tolerated my excitement.
Of course, there wasn’t much to actually see. A concrete post marking the site where Cook had nailed a brass plaque to a tree. A small museum with the remnants of said tree, and a couple of eateries. If only the rocks could talk.

Like most of Tasmania, the real hero of Adventure Bay is the stunning scenery. Cara and I found the Fluted Cape Walk, a 6 kilometre track that gave incredible views out over Storm Bay. The scenery gave us plenty of excuses to stop for a breather, and with the steepness and length of the ascent we needed them!
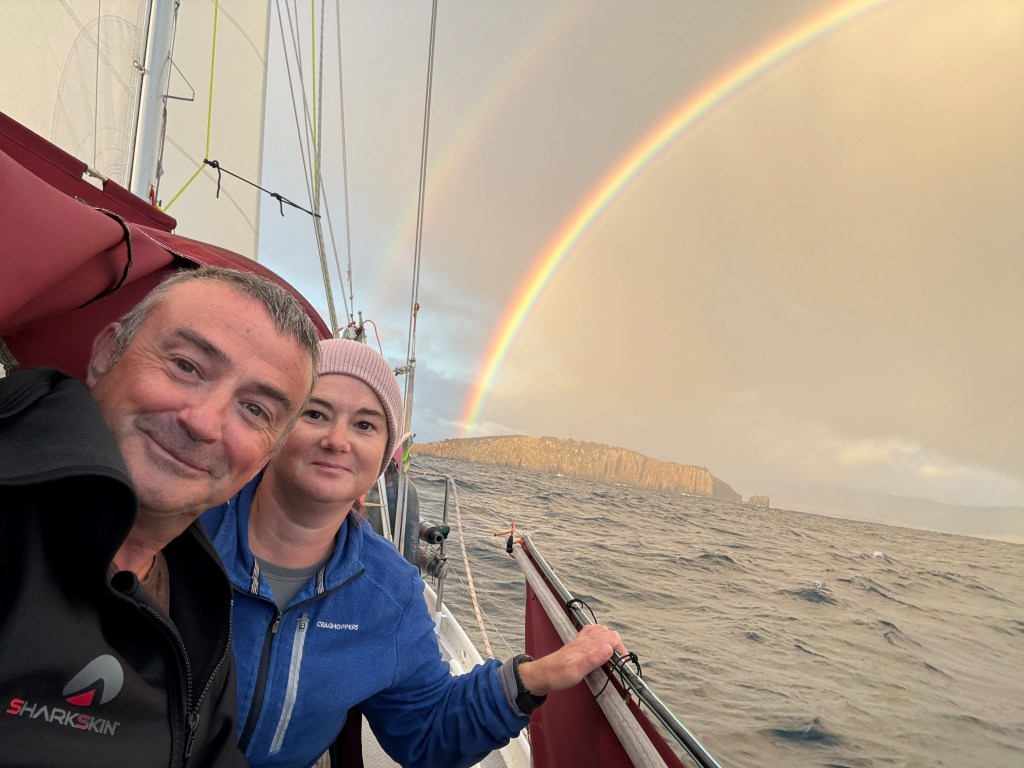
Cara had a date to travel back to New Zealand approaching. Her mum was having an operation and needed some support. We had to keep moving, so we headed across Storm Bay to the town of Nubeena. The sail to this beautifully protected bay was another highlight, the wind and sea gods smiled upon us, and even sent us a double rainbow.
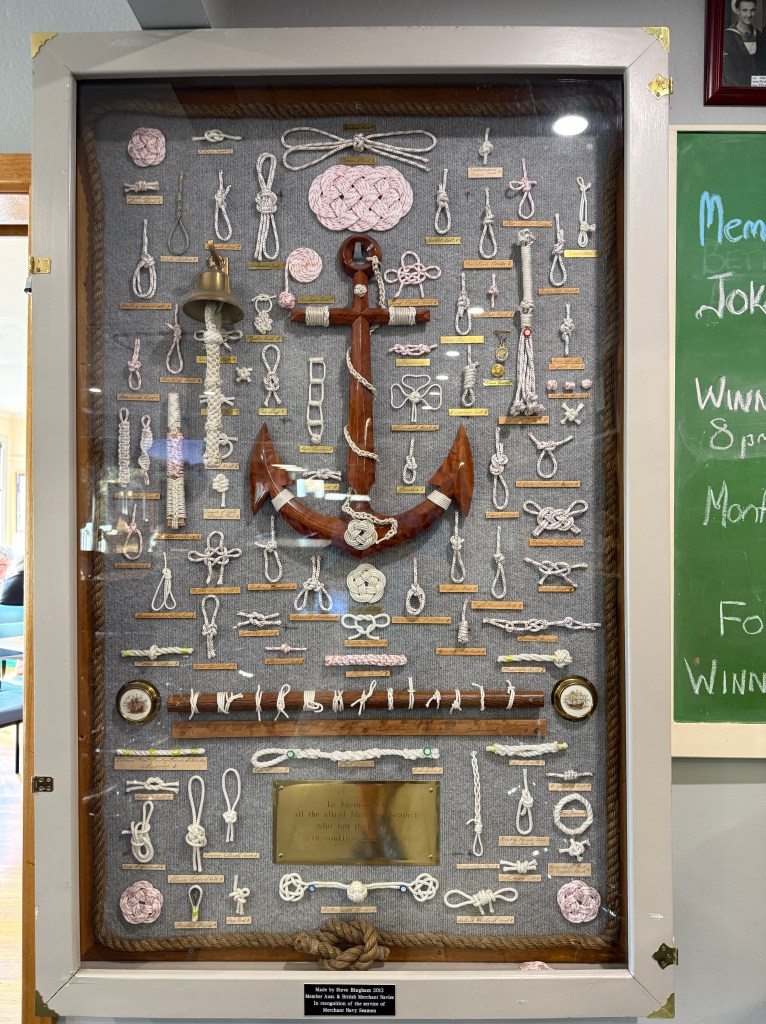
Once anchored at Nubeena we soon ended up at the RSL (The Returned Services League) for something to eat. Like all of these places it was chock full of historic displays and militaria. The line between remembrance of the sacrifices others have made, and plain glorification of war can be pretty thin, and I personally find many of these places lean a little too much to the latter for my taste. Still, when the obligatory cannon is outside the pub at least it’s not in the playground, like so many are in Australia. I suspect veterans of the great wars would have shuddered to see children playing on these instruments of savage mutilation and death. These things seem intended to groom the next generation for the next conflict, but others, I’m sure, would disagree. At the end of the day, the RSL does good work for veterans and makes a grand feed, so why think too deeply about the attitudes underlying the decor?

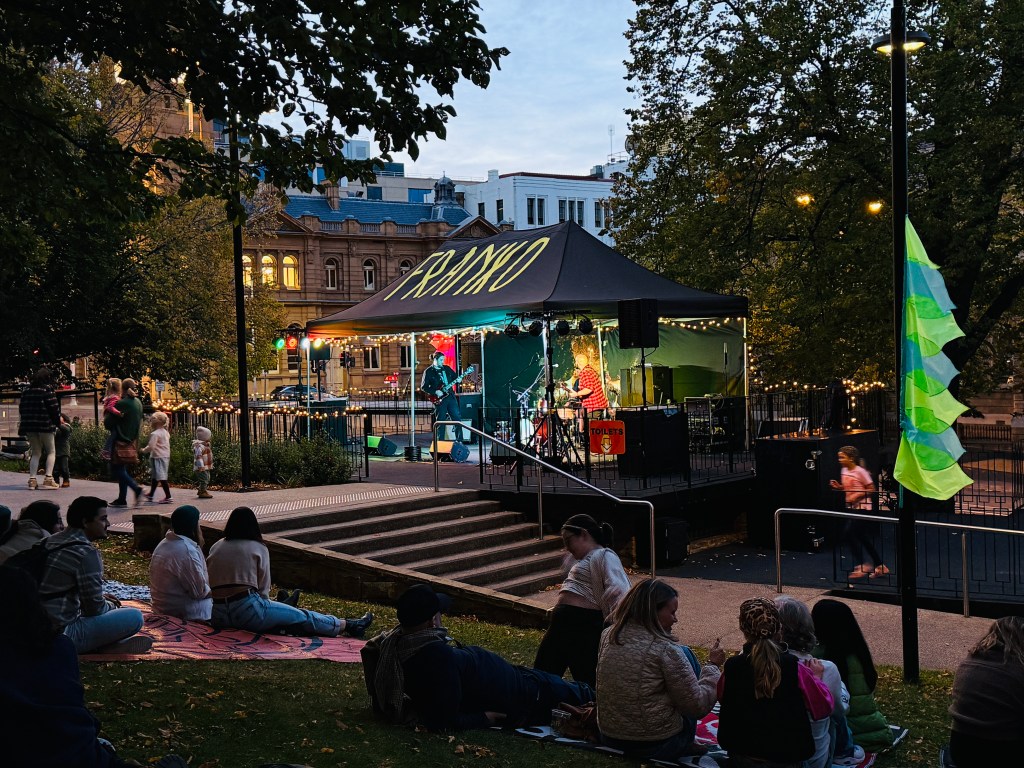
Our brief stay ended with a six hour return sail to Hobart. We found a free berth back in Sullivans Cove at the heart of down town Hobart, and that evening headed in for a free concert at the park. The next day would see us carrying on up the Derwent River to the Prince of Wales Bay Marina.
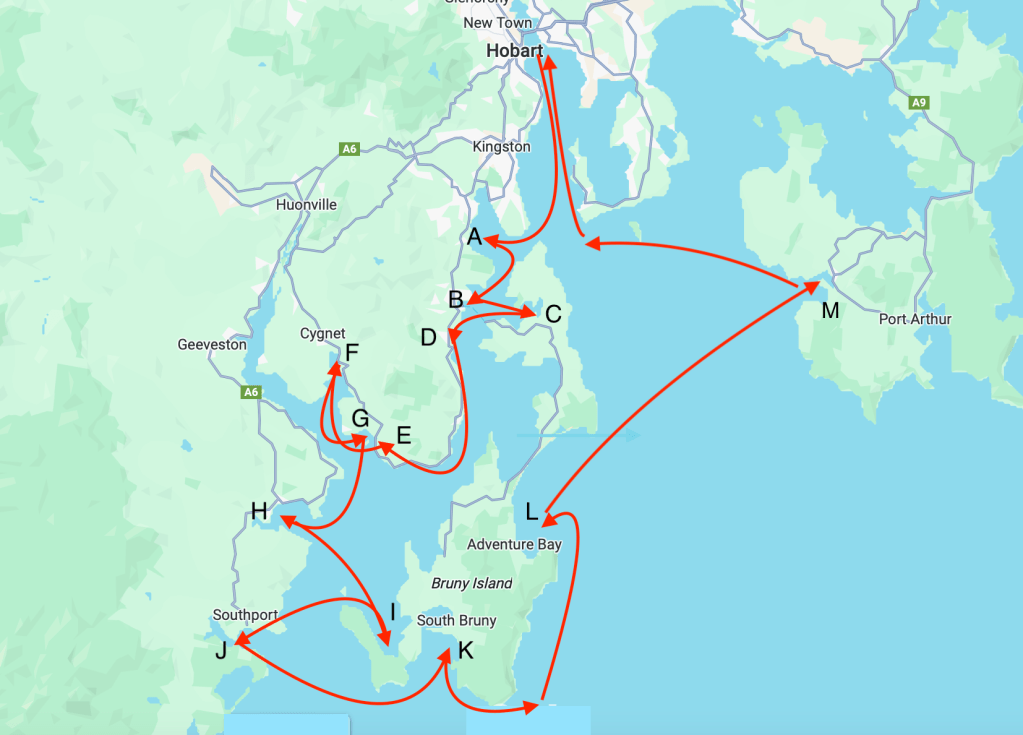
Key:
A: Snug Beach, B: Kettering/Oyster Cove, C: The Duck Pond, D: Peppermint Bay, E: Garden Island, F: Cygnet, G: Eggs and Bacon Bay, H: Dover, I: Jetty Bay, J: Southport, K: Cloudy Bay, L: Adventure Bay, M: Nubeena.

Leave a comment